Pages

Showing posts with label Texture Paste. Show all posts

Monday, 17 December 2018

Life is a Beach at Art and Soul Studio Challenge

Time for my latest project  as Ambassador for
Art and Soul Studio over at their Blog.
It's a very Tropical Mood Board for December 
as we are in our Summer Season in Oz
 and it depicts just that! 


The heading says it all. 

I started by adding Gesso to my 5"x 7" canvas
then crumpled up tissue paper for texture.
and DecoArt White Crackle Paint,
 adding colour
with Art /Alchemy Emerald Green/Mermaid Sparkle
and Glitter Gold Colour Craft Lustre Powder
Now to add my sea shells
Nice variety to choose from here.
Cut the mesh bag and thought it only right that
I would use a portion to help add more texture
and painted part of it with
Art Alchemy Gold Rush with a baby wipe.
Now to add those sea shells and some Calcined Bauxite
Then some painting,waxing -
pearls, mica flakes, beads and prills.

and a few close ups
finishing with the required sentiment word (Life)
from Inkadankado

I know December is a busy month and it would be
fabulous if you can join our   Art and Soul December Challenge.
 There are $50 Gift Certificates on offer & we have a stunning mood board every month
There's so much beautiful inspiration from my Talented Team Mates.
 All the details about the December Challenge can be found Here

Items purchased from Art and Soul Studio - 
Art Alchemy Paints
Nuvo Mouse
Derivan Matisse Calcined Bauxite
Josonja's Texture Paste
Liquitex Gesso
Derivan Matisse Mica Flakes

Hope you enjoyed checking out my project.
Thank You for coming by today.
Till next time - Cherrio from


Tuesday, 8 May 2018

'Wing' ing it at STAMPlorations

We are celebrating 31 days of Spring over at
STAMPlorations
We are back to our 5 Regular Challenges -
just a little different. We are all going with the same theme
Things with Wings!
and what better way to do it for me but with a
Butterfly and Flowers!


Check out All the Details HERE.

***
I started with -
My potted flowers and butterfly from the
Fluttery Stamp Set and Die
which were heat embossed with
Wow Metallic Platinum Embossing Powder
and coloured with Pearlescent Paints.
My background is a mixture of
Transparent Gloss Texture Paste and
Mont Marte Pearl White Acrylic Paint
thickly pasted with the
ARTplorations Shutters Stencil
Leaving that to dry I then cut out a tag from
CUTplorations Tags 1 Nesting Dies
with card stock to match the flowers and
tying a variegated piece of knotted cotton.
My sentiment was then inked with Tim's Worn Lipstick
and cut with a die from the same set.
I had added some yellow liquid pearls to the
centre of the flowers but wasn't happy with that
so while still wet I poured some tiny seeds on top.
The flower pot and butterfly are popped and
sentiment just slightly.

Here are the STAMPloration products used above.


preview-Flutterypreview-web-stencil-006-shutters.jpegpreview-nestingtags1

There is always so much more to check out  over on
Our Blog  prizes to be won for commenting here and there
and of course joining in our Spring Happenings.

Don't forget you can get an extra 20% discount
on all the fabulous STAMPloration Products by using
my personal code - STAMPGIRLINA  

Thanks so much for dropping in today.


Wednesday, 11 April 2018

It's a CUTplorations 'Threefer'

Hello and Welcome to today's post.
It's all about the latest happenings over at
STAMPlorations where we are focusing on Phrase Dies.
You can find The Details Here
PS This a longish post!


No automatic alt text available.


I had sooooooooooo much fun choosing how I was going to
showcase these fabulous Phrase Dies.


I knew which stamps I wanted to use with this die and chose
STAMPlorations One Cool Chick. I think it's a perfect match.
It needed a background so I versamarked  the
ARTplorations Zen Hearts stencil with pink glitter.
Also added it to the surrounds but a little hard to see.
was cut from red card stock.
Finished by adding a black mat, attached to red card base 
pearls on her scarf and bracelet and a little bit of lippy.
preview-OneCoolChick-Sherypreview-ZenHearts-stencil0preview-youaremysunshine

This was pretty simple to make.
My background is a mix of Tim's Oxide Inks.
I then stenciled the ARTplorations Flowers 1
thickly with Gloss Gel Medium and
Pearl White Acrylic Paint.
Added my CUTplorations Life is Good 
die cut from the same card stock as my base.
touching it up with WOS for shimmer.
Gems were attached to finish.
preview-flowers10preview-lifeisgood

and my last one I went all out
adding so many bits and bobs hoping I wouldn't
make a mess!

As you can see there is a lot going on with this one.
I used ARTplorations Retro Circles first inking
and sponging in yellow to add more colour
then added crackle paste.
I started my other background with
 lots of Brusho colours then I started adding
stamping and heat embossed images
from STAMPlorations Mixed Media Grunge
and STAMPlorations Scribbly Splattery Grunge
in a variety of colours.
I then stenciled ARTplorations Evolution
with white acrylic paint.
This was cut on angles and attached
adding the CUTplorations Art Happens die in yellow.

preview-evolutionpreview-web-stencil-051-retrocirclesMixedMediaElements-preview.jpeg0preview-arthappensdie

There is so much more to check out over at
STAMPlorations so go on over and see for yourself!
You know there are prizes to be won for joining in
with your creations!
and for commenting here and on our Blog!
Want a 20% discount? Just use my code
STAMPGIRLINA  and you are good to go.


Thanks so much for taking the time to check out
My Long Blog Post.

Sunday, 18 March 2018

Just 'Experimenting' here

Hi Blogger Friends!
Today I am posting an experimental card
that didn't turn out toooooooo bad.


I had it in mind  for the current challenge at
and decided to give it a go!
My Mix is - Acetate, stenciling, stamping,
inking and die cutting.
There are so many gorgeous card in the gallery
that have used acetate with alcohol inks. Swoon!
I don't have any but saw a tutorial on YouTube
using SU Crystal Effects and Re-Inkers
so got out my Glossy Accents (same thing)
and a few re-inkers and slooshed it all around.
I left it overnight and then added some
 PearlEx Antique Gold Powder
 and attached to my white card base.
Then I 'borrowed' Loll's idea to use a stencil
on top. Thanks for that tip!
I used a new stencil I had just bought
using texture paste. I didn't want it to overpower
the background so didn't add any white acrylic paint.
Smooched it a bit with gold paste.
Framed and popped it with a postage stamp die
and a tiny Hello sentiment.

Pretty happy with my first attempt but
I think I need some Alcohol Inks.


Thanks for dropping in


Monday, 1 January 2018

It's Happy Little Stampers Watercolour Challenge

A Guid New Year tae ane an awe
And mony may we see!
( A wee bit of Scotland coming out here)

Hope you all had a Very Merry Christmas
and now we move on to 2018.

The first Challenge over at Happy Little Stampers is our
Anything Goes Watercolour Challenge
(and I'm part of the New Look Team)
with the Optional Twist to use Sequins.
I'm sure we all have lots of little containers
full of these little treasures.
My watercolour background effect was the result of
spritzing water on to my craft mat after I added
Tim's Oxide Inks in Mermaid Lagoon & Salty Ocean
then spread with an acetate sheet.
The feature of my card is of course the feather
which is a stencil by TCW. I added texture paste
and once dry inked with Mermaid Lagoon.
It needed a little something so I put my stencil
back over the feather and versamarked it
then heat embossed the glitter.
Added some tiny text for interest.
Sentiment is from HLS Thinking of You
which unfortunately is retired.
Finished with HLS Blue Sequins and
a few gems and cut with a stitched die
adhering to metallic card stock.

Our winner for this challenge will receive a $20 coupon to spend at the shop! 
Check out all the details HERE.

IF YOU USE STAMPS BY HAPPY LITTLE STAMPERS AND YOU ARE OUR RANDOM WINNER, YOUR PRIZE WILL BE DOUBLED!
How good is THAT!

Thanks for dropping in. Please check out Our Blog
to see what the Team have created
and come join us this month.
Hope to see you there.


Sunday, 12 February 2017

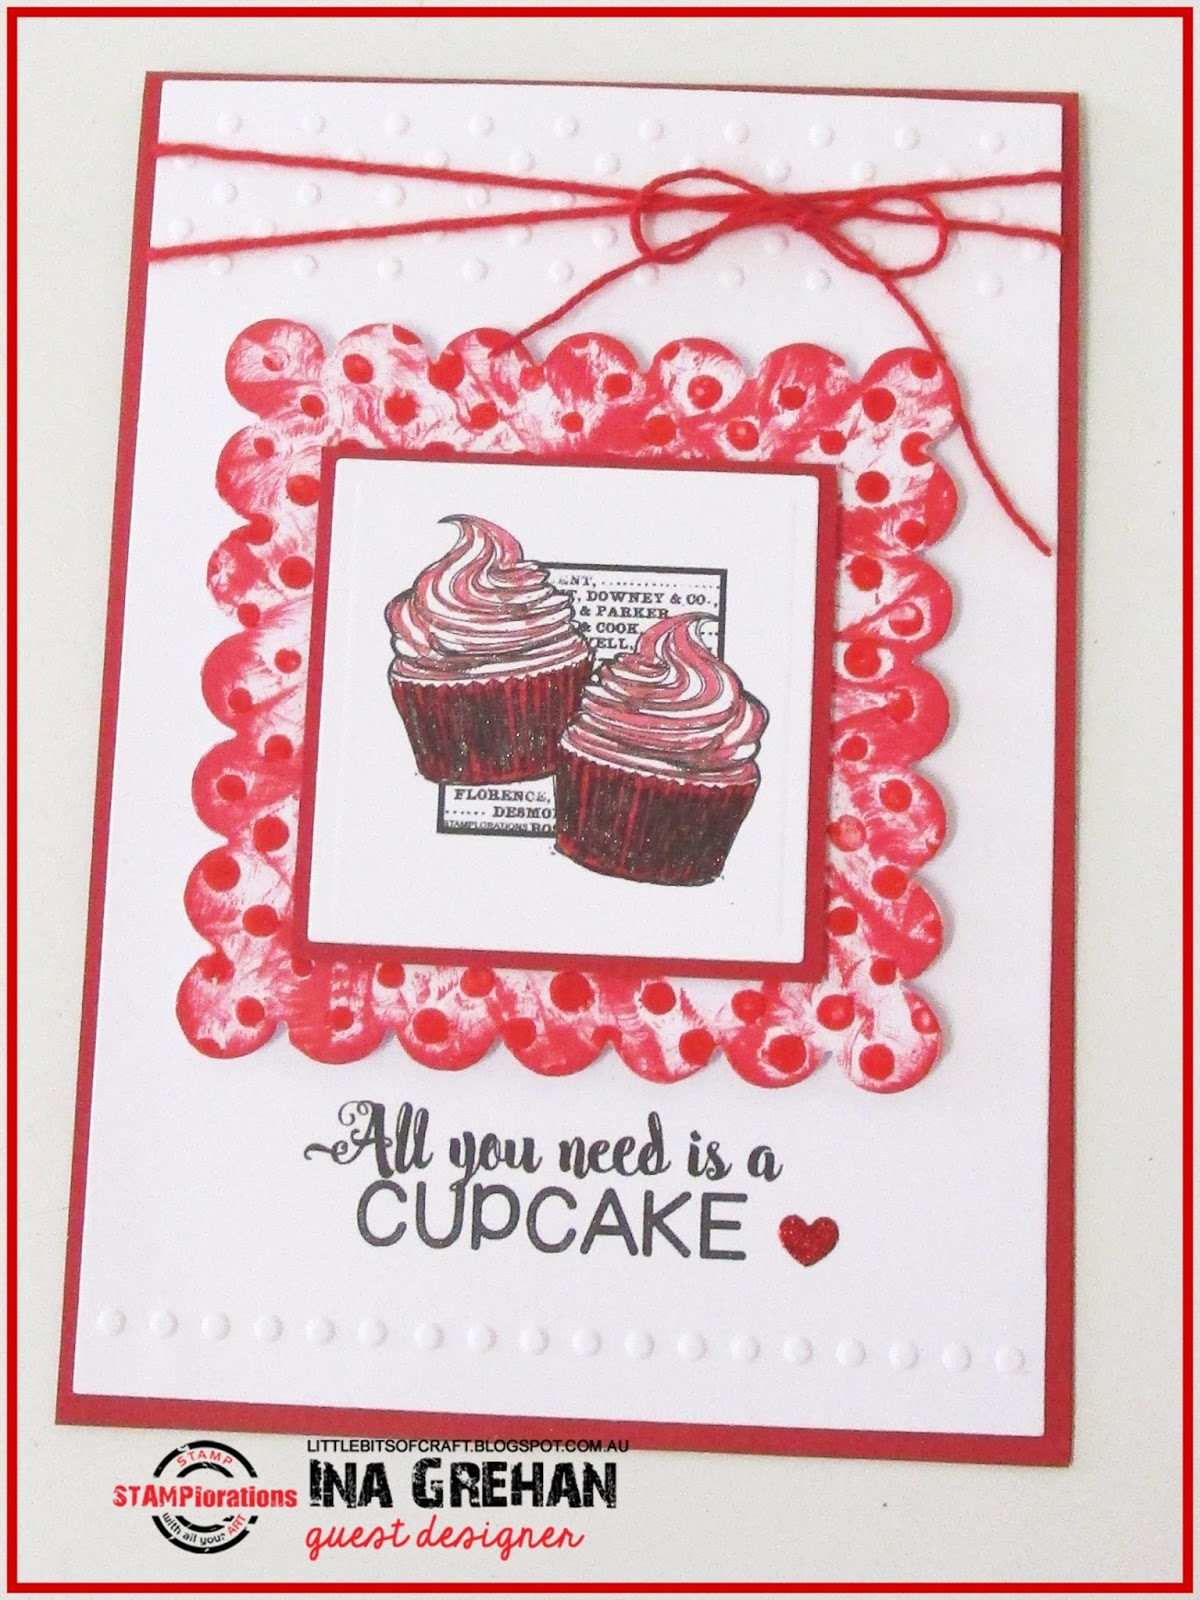
All you need is a 'CUPCAKE'

STAMPlorations  are sponsoring
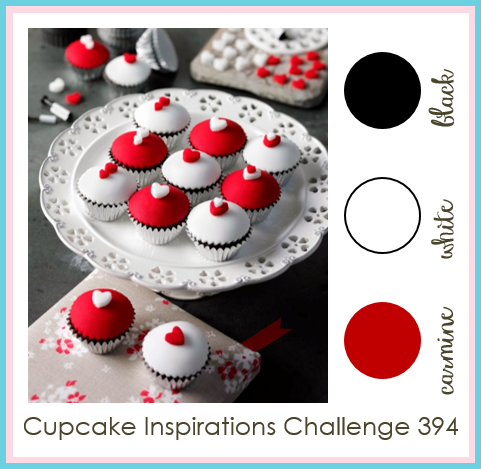
Cupcake Inspirations Challenge #394
and I have made this card as part of the
 STAMPlorations Guest Designers
You can find all the details from the Link above.
 
 CIC394-feb12.png
 
 
I started off with the basic card stock of red & white.
The cupcake image/sentiment are digi images
 from our very own Shery Russ. Thanks Shery.
My cupcakes were inked up with a
black and red sparkley gelly roll pens.
This was then matted with red card stock and
attached to my background which was cut from
a Spellbinder Scalloped Die. I then got out my
and inked with red distress ink but was too plain
so  used texture paste in white - then it looked
lost so that is when I inked it with TH Festive Berries
straight from the ink pad and got this great mottled effect.
This was popped and attached to a piece of cs.
I then embossed with some really old
cuttlebug embossing (remember those little strips?)
It needed something to break the white.
I finished with the sentiment, some cotton and a tiny heart.
 
This shows a better view of the shine from the pens.
It does look pink but I think that is because of the
shimmer from the pens.
Thanks so much for dropping in. There are so many more
Guests participating this week so pop over and see
what they have created
with the Talented Designers from